Here’s a small helper thingy that I use to help manage multiple docker-compose setups in production. But this will work with anything that uses Makefiles.
In short, using a Makefile per project allows me to mask away some long winded commands that make kick starting each environment much easier than it may otherwise have been.
The problem is that I have one Makefile per project directory, and some projects have several services. An example might be a project with:
www
api
management console
demo site
And so on.
Whilst it’s nice to have one command per service, it does still mean I have to log on to the server, cd to each dir, then run the make start command. And in some cases this needs to be done in a particular order, so that dependant services are up before workers try to connect, and so on.
A better way is to have one Makefile in the project root dir, which then calls the make start command in each sub dir. Something like this:
touch /docker/myproject.com/Makefile
vim /docker/myproject.com/Makefile

start:
    make start --directory /docker/myproject.com/api && \
        make start --directory /docker/myproject.com/admin && \
        make start --directory /docker/myproject.com/www
This way I can now just run one command on the project root dir, and it will take care of calling all the sub tasks that kick start the project.
And say I go into the mysite.com/www dir and run docker-compose up, all is good.
Then I go to the anothersite.com/www dir and run docker-compose up, and docker compose would first shut down the mysite.com/www containers because, by default, docker compose uses the basename of the directory where your docker-compose.yaml file lives as the project name.
We can pass in a project name when running docker-compose, like so:
docker-compose up -d...
Of course, make sure your project name differs for each of your projects. And once done, your individual docker-compose projects should run in the way you would intuitively expect.
But, this creates another problem. The subtle problem I mentioned above.
Once you start docker-compose projects in this way, all subsequent docker-compose commands need to the -p my_project_name flag. Or they will do the (apparently) unintuitive thing.
cd /docker/mysite.com/www
docker-compose up -p my_project_name -d

Starting my_project_name_nginx … done

docker-compose top
# ??? - nothing shown

docker-compose exec mysql /bin/sh
ERROR: No container found for mysql_1
# ??? wtf
This confused me for a good half an hour or so, even leading me to upgrade docker-compose, try restarting docker, try rebooting the production server… the works.
Of course, none of that worked.
What did work was to include the project name with the command!
docker-compose -p my_project_name top

my_project_name_mysql
UID PID PPID C STIME TTY TIME CMD
999 9998 9973 0 10:30 ? 00:00:01 mysqld

# and

docker-compose -p my_project_name exec mysql /bin/bash
root@3cb4c8b263ca:/#
Not that this isn’t a bit of a ball ache, but still, at least now it makes sense.
On Saturday dinner time I decided to bump my Ubuntu 19.04 release to Ubuntu 20.04. What could go wrong?!
Well, here I am on a completely fresh installation. So it turns out: quite a lot.
I knew I was ballsed when the upgrade process failed in the terminal. I did an apt-get update and it seemed to think I was already on 20.04. As soon as I rebooted, of course, the OS never came back up. Sad times.
Anyway, tons of other difficulties aside, the issues I hit upon when finally re-installed were not that new to me when it comes to Linux:
Monitor problems.
In particular, I had two.
Firstly, the mini-display port to display port cable just inexplicably died on me. This completely threw me as all of a sudden my main monitor – a Dell P2715Q – seemed to be working, but the screen was black. I knew something was amiss as when I turned on the screen, Ubuntu would make it my main display but of course, it was all dark so I couldn’t see the log in prompt, or stuff like that.
Long story short – after a full re-install – I realised the cable was at fault. Sad times, and more hours lost.
But that’s fixed now. All it took was a new display port to display port cable, which very fortunately, I had in the spare parts box.
Portrait Mode Problems
A new one on me for Ubuntu 20.04.
I have another 27″ Dell monitor, a U2713HMt, which isn’t 4k. And has therefore been relegated to my second monitor.
I’ve never had issues with this monitor. It is always detected as my primary during install, so I have to install with my head tilted 90 degrees… or just turn the monitor back round, but aside from that, it’s been really solid.
Incidentally, having a 27″ screen at 2560×1440 makes a really nice super big terminal window if you are a massive nerd like me, and spend a lot of time in such places.
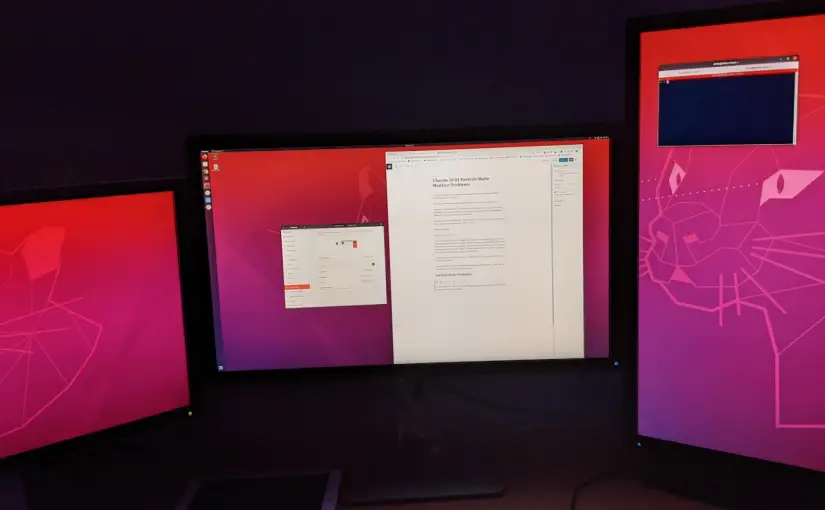
Anyway, Ubuntu 20.04 did not like putting this monitor into Portrait Right.
The issues I hit were that it would allow me to specify the setting, but when applied, it would either revert, or kill the monitor entirely.
Fixing Ubuntu 20.04 Portrait Mode Problems
Unfortunately I have not found a fix for the “Screen Display” menu. It won’t take the setting directly.
However, there is a workaround that seems to be working about 95% of the time for me.
sudo apt install arandr
Firstly, I installed arandr. This is a GUI for the more cryptic XRandR. If you’re a whizz with XRandR you can likely do the next bit from there directly somehow. And likely you don’t need blog posts like this to get your PC working properly. Fair play to you.
For the rest of us…
When installed, run arandr but run it as you, not sudo.
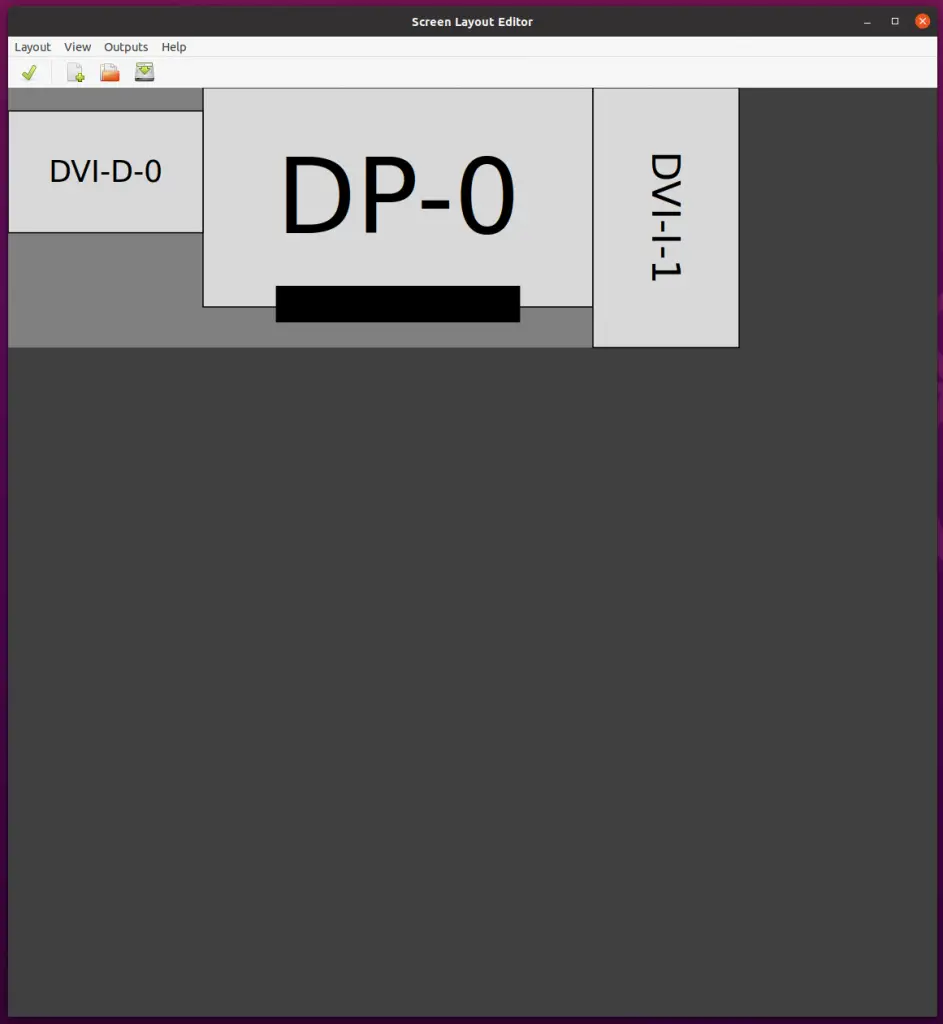
Make your monitor setup look how you want it. It’s intuitive enough. The cable names and types are labelled sufficiently that you should be able to figure out what is what.
The “Outputs” section is used to select the individual monitors and then modify them as needed. I just needed to make DVI-I-1 into Orientation “Left”.
Once done, choose “Save As…” and this give your file a name. I called mine triple.sh
triple.sh
Oh, the wit.
The reason we didn’t run this as sudo is because this file will, by default, be saved to your home directory, e.g. /home/chris/.screenlayout/triple.sh
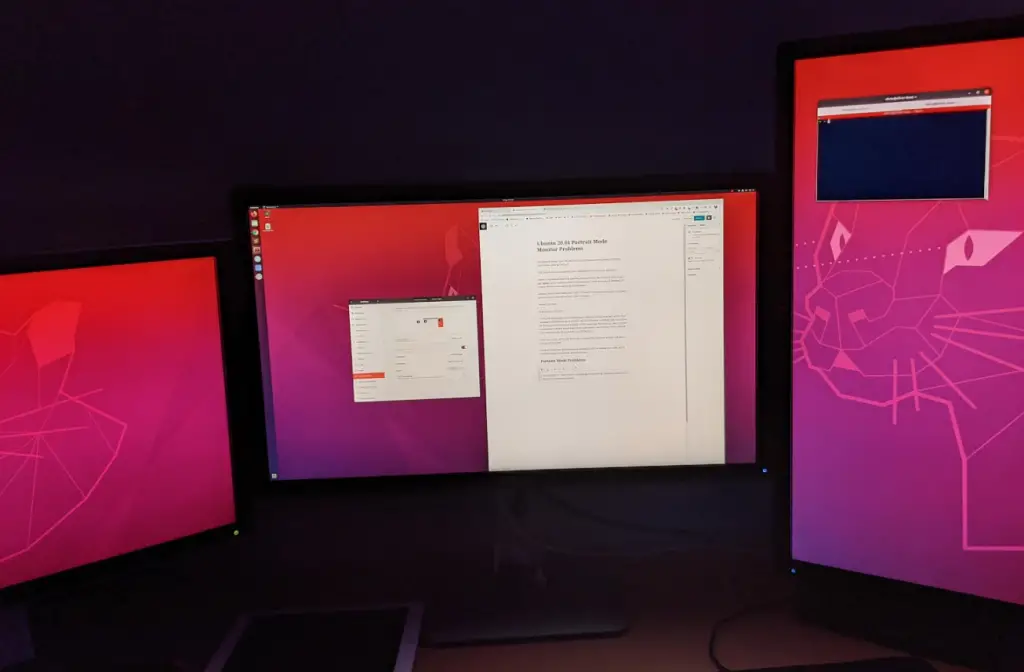
You should be able to Apply this script now (from arandr) and your monitors should be correctly displaying.
However, this won’t last between reboots.
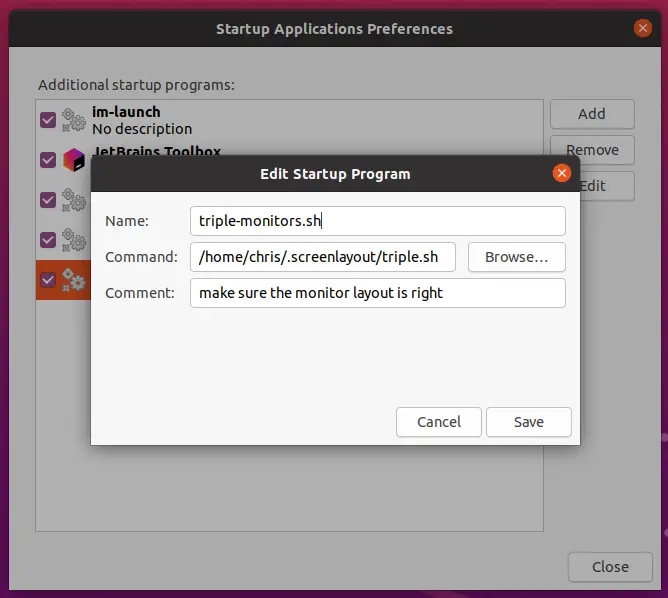
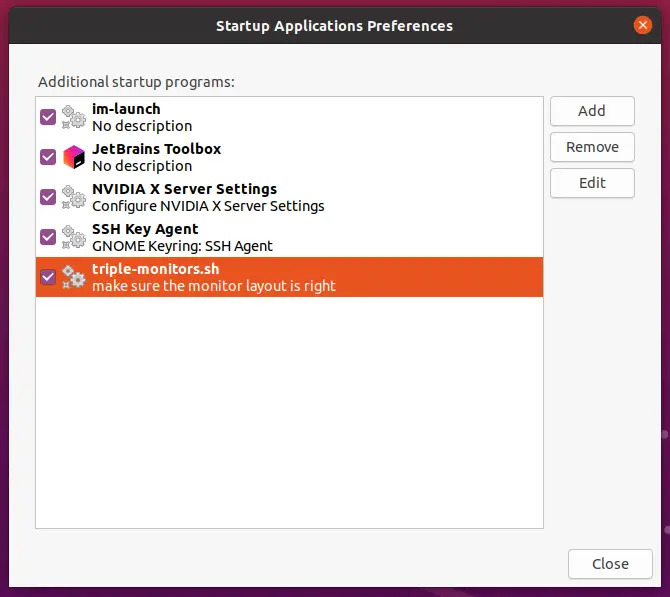
In order to persist between reboots, I used a “startup application” entry.
To get to this, hit the super key and type “Startup”, and then I entered the following:
Giving me this:
So far, it’s worked every time except once, when it didn’t. For which I have no reason.
But hey, that’s Ubuntu baby. If you want an easy life, blow 3 grand on a Mac.
Edit: Less than 24 hours later, I have found that when resuming from sleep, I need to re-run the script. Not ideal. To make this as easy as possible, I moved the shell script to my desktop, and updated the start up script location above to point to the new location. Now, I just double click the file on my desktop whenever I resume and the monitors are out of whack.
In case you missed it, switch resetAllMocks for clearAllMocks.
The reasoning, in my case is that I had declared a .mockImplementation elsewhere in my test, and a call to resetAllMocks wipes out that mock implementation.
One area I’ve always found tricky when writing tests for React is where Higher Order Components are involved. I’ve found this complicates the test setup process. There are ways around this, which may or may not be possible depending on many factors. Sometimes you work on third party code that won’t accept ‘dramatic’ refactors just to scratch your own testing itches.
One example of where this problem might occur (particularly if you don’t read the docs!!) is with React Router, specifically when using withRouter.
  it('should redirect when on the happy path', () => {
    const history = { push: jest.fn() };

     const { getByLabelText } = render(
      <Provider>
        <MyComponent.WrappedComponent history={history} />
      </Provider>
    );

    const myInput = getByLabelText('Some label text');

    const value = { target: { value: 'a value here' } };

    fireEvent.change(myInput, value);

    fireEvent.keyPress(myInput, { key: 'Enter', code: 13, charCode: 13 });

    expect(history.push).toHaveBeenCalledWith(
      '/path/when/redirected'
    );
    expect(history.push).toHaveBeenCalledTimes(1);
  });
The necessary actions to ‘run’ this test are unchanged. However, there are fewer lines as we can make use of the existing constructs provided by React Router to aid our testing workflow.
This may have been extremely obvious to you.
I can’t remember if WrappedComponent has always been available and I have overlooked it, or it is something new since I last had to do testing with a project using React Router.
Either way, it’s time I refreshed my knowledge of the documentation. And hopefully this helps someone else when testing withRouter at some point in the future.