I have no idea how to explain this one, but I’ll do my best.
Infrequently when I open the lid on my 2020 Macbook Pro, the laptop wakes up, but the screen is “washed out” / has this weird very white overlay going on.
Nothing I have done seems to resolve this.
It started almost immediately after purchasing, and subsequent OS updates haven’t solved it. I have no external monitors plugged in, or in fact, anything external at all. The one thing that may be a commonality is having the power cable plugged in.
Annoyingly, when I go to shut down / restart (which fixes it, btw), the screen comes back to normal just as I’m shutting down. How frustrating.
So a cunning fix I’ve found – that solves a crappy problem with a three grand laptop – is to open an app like iTerm, then go to shutdown.
iTerm will then prompt saying “hey, do you really want to shut down?” And this allows me to stop the shutdown process and my screen goes back to normal.
Should I need a bodge workaround for a top of the line Apple product? Apparently: yes.
I should add, btw, that this is not the only problem I have with this laptop. I also suffer from:
intermittent key repeat / sticking;
headphone jack doesn’t work on wake from sleep;
my fat fingers keep accidentally touching the “touch bar” when typing.
For a while now I’ve wanted to share files between my OSX / Macbook Pro laptop, and one (or ideally several) of my Ubuntu Linux PCs.
Why?
Because my laptop has 256gb of hard disk space, and that is consumed at an alarmingly fast rate when recording, and rendering videos.
I’ve tried, and failed, to set up file sharing on Ubuntu on numerous occasions. It is, of course, due to something (or several compounding somethings) I have been doing wrong, but I neither have the patience, nor desire to figure out exactly what.
Enter Docker. Saviour of hair follicles. Provider of solutions.
File Sharing Ubuntu Style, With Docker
Let’s cut right to the chase. Here is some configuration:
Essentially to make this work you need Docker, and Docker Compose installed on the PC (Ubuntu in my case) that you want to share data from.
There are some changes you will need to make.
Make sure each of the volumes match the path to a real directory on your computer.
The part before the colon is on your local PC.
The part after the colon is where that directory will be available inside the resulting running Docker container.
Customise the username and password appropriately.
You can find out what all the no;no;no bits mean in the documentation.
Then put the code from above into a file called docker-compose.yml somewhere on your computer. Once saved off to a file, run docker-compose up (or docker-compose up -d to run in the background) and away you go.
Your Ubuntu File Server For Mac
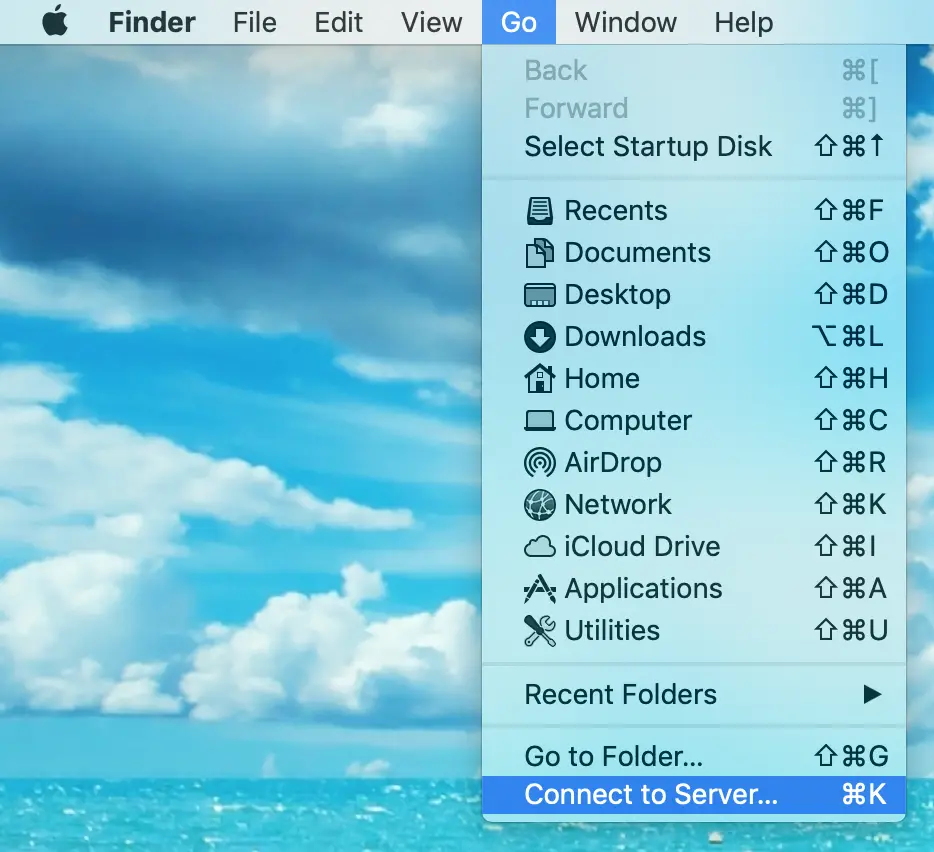
Once you have your shiny new Ubuntu Samba File Server up and running, how do you connect to it from your Mac?
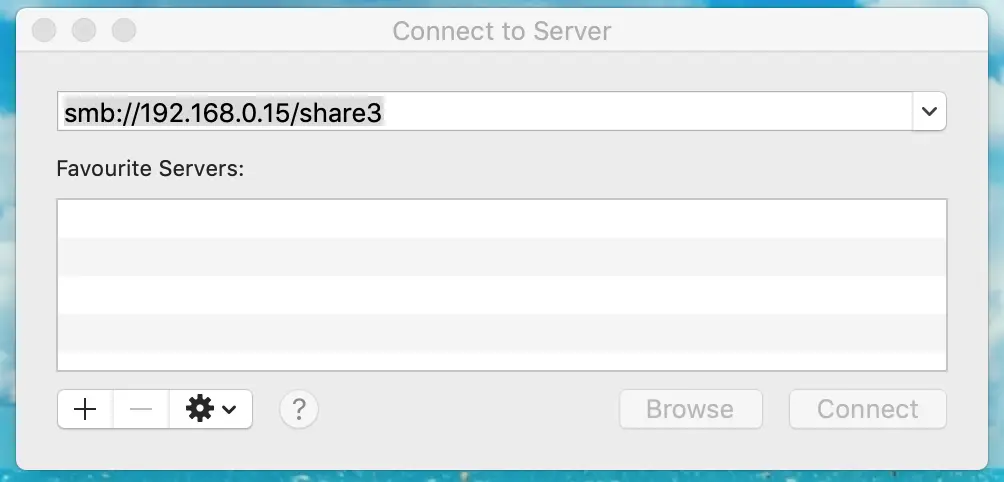
Pop in the IP address, or (perhaps more nicely) the name of your Ubuntu PC.
The share name corresponds with whatever you called the share in the command section of your docker-compose.yml file.
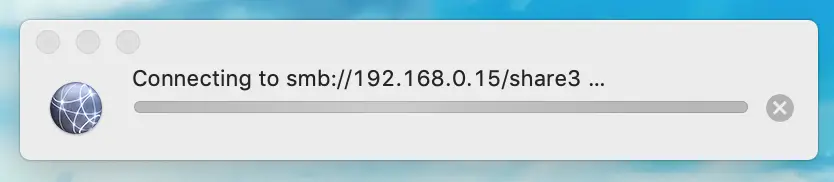
Once you type in the full path to your share, click Connect.
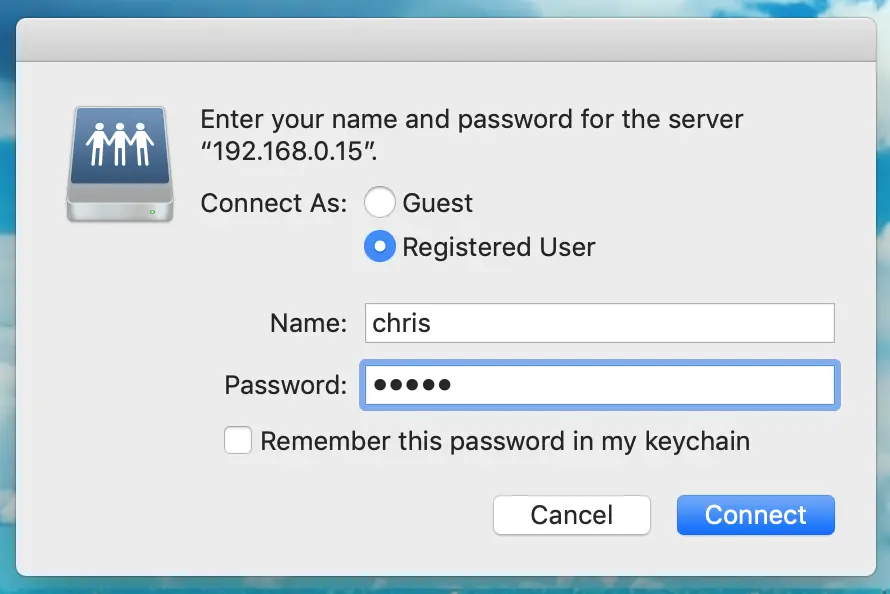
After a second or two you should see a prompt. Enter the credentials to the share you created in your docker-compose.yml file.
Bonza. You are now connected.
At this point you should have read / write access to the share. This is what I wanted, and allows me to copy all my video files over to the network drive, rather than store them on my over priced, under provisioned hard disk.